How to Play

How to Play Arrow Tap: Escape Puzzle

Learn the fundamentals of Arrow Tap: Escape Puzzle: how arrows behave, how to sequence your taps, and how to calmly clear even the busiest boards without getting stuck.

Arrow logic Open vs blocked paths Move sequencing Board clearing

Arrow Logic, Move Sequencing, and Board Clearing

Every level in Arrow Tap: Escape Puzzle is built around a simple idea: tap arrows in a sequence that lets them travel off the board without being blocked. The more clearly you read directions and paths, the more relaxing each puzzle feels.

Understand the goal of each board

Your objective is to clear every arrow from the board by tapping them in an order that lets each one escape along its pointing direction. If an arrow’s path is blocked, tapping it too early can trap other arrows and make the layout unsolvable.

Think of each board as a small traffic puzzle: you are directing arrow “traffic” so every piece gets a clean route out.

How arrow taps work

When you tap an arrow, it attempts to move in the direction it points. If the lane ahead is open, it clears off the grid and frees up space. If another arrow or a blocking tile sits in its path, that move is blocked and the piece stays put.

This simple rule is what turns short sessions into satisfying logic exercises.

Identifying Arrow Directions

Direction is the most important detail on the board. Reading arrows quickly and accurately lets you predict where space will open and which pieces will become free next.

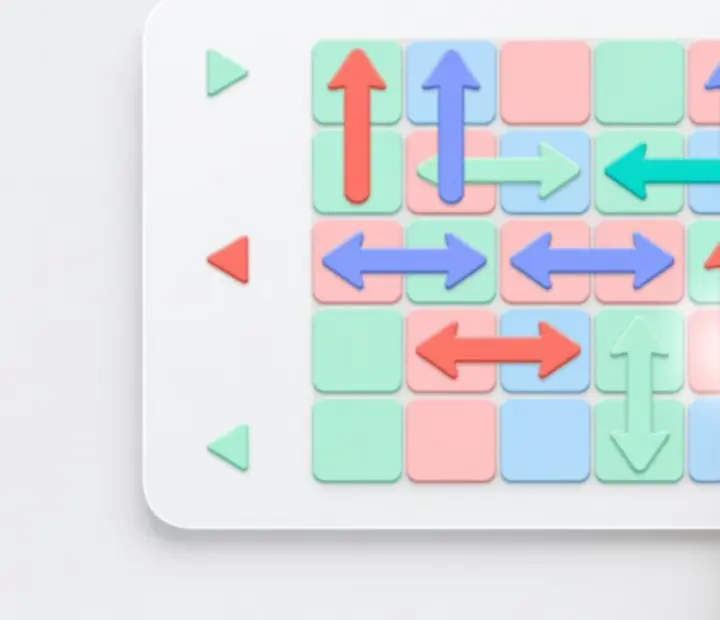
Diagram showing arrow tiles pointing up, down, left and right

Four primary directions dominate most boards: up, down, left, and right. Each arrow always tries to leave the grid along that straight path.

  • Up arrows look for empty tiles above them.
  • Down arrows travel toward the bottom edge.
  • Left arrows move toward the left edge.
  • Right arrows escape to the right.

Before you tap anything, scan the entire board and mentally trace each arrow’s path in its direction. This quick “direction check” is the foundation of your planning.

Recognizing Open Paths

Open paths are lanes where an arrow can slide straight off the board without hitting anything. Recognizing these at a glance tells you which arrows are immediately safe to tap.

To check if a path is open:

  1. Start at the arrow’s tile.
  2. Move step by step in the arrow’s direction.
  3. If you reach the edge without crossing another arrow or obstacle, the path is open.

Open-path arrows are your low-risk moves. Clearing them early often creates extra space for more tangled sections of the board.

Selecting the First Arrow

The first tap sets the tone of the entire solution. Instead of randomly choosing, look for arrows that simplify the board without closing off future options.

  • Prefer open paths on the edges. They usually escape cleanly and open immediate space.
  • Avoid arrows buried in the center unless you are sure their path will stay open.
  • Test “key” arrows in your head before tapping: if this leaves, does it free or trap others?

As a rule of thumb, start with the arrow that clears the most clutter while obviously not blocking anything important.

Dealing with Blocked Arrows

Blocked arrows are ones whose path is interrupted by another arrow or obstacle. They cannot escape until you first remove whatever sits in front of them.

When you notice a blocked arrow, ask two questions:

  • What is blocking it? An arrow, a cluster, or a permanent obstacle.
  • Can that blocker escape first? If the blocking piece also has an open path, it becomes your new priority.

By clearing blockers in the right order, you gradually untangle clusters and reveal new lanes that looked impossible at first glance.

Avoiding Self-Blocking

Self-blocking happens when a move that looks good in the moment actually closes the only route for another arrow. This is the most common mistake on tougher boards.

To avoid it:

  • Before tapping, check whether the arrow you are about to remove is currently acting as a blocker that keeps other arrows aligned.
  • If removing it would make another arrow point into a wall of pieces, keep it for later.
  • Visualize at least the next two moves; if you can’t see a safe follow-up, reconsider.

Treat every move as part of a short chain instead of a single isolated action.

Planning Multiple Moves Ahead

Arrow Tap: Escape Puzzle feels most relaxing when you play it like a slow logic game, not a reaction challenge. Planning several moves ahead turns tricky boards into predictable sequences.

Build small decision chains

Instead of mapping the entire solution, work with short three to five move chains:

  1. Pick a target cluster you want to clear.
  2. Identify the blockers inside that cluster.
  3. Plan the shortest sequence that frees their paths.

Once a chain works, repeat the process with the remaining arrows until the board is clean.

Spot chain reactions

Many boards are designed so that one good move unlocks several others. Look for arrows that, once cleared, open fresh paths for two or three more pieces in a row.

These chain-reaction moves are ideal because they rapidly simplify the grid and reduce the risk of dead ends.

Recovering from mistakes

If a sequence goes wrong and you end up stuck, treat it as a learning snapshot:

  • Which arrow became trapped, and why?
  • Which earlier move removed its only escape path?
  • On your next attempt, protect that route until the trapped arrow can leave.

This light analysis helps you internalize better planning without turning the game into heavy study.

Clearing Difficult Boards

Later boards mix dense clusters, long corridors, and arrows that depend on each other’s movement. Progress can feel slow at first, but a consistent method keeps them manageable.

  1. Frame the board. First, clear any obvious edge arrows with open paths to carve out working space.
  2. Divide into zones. Mentally split the board into small regions and solve one pocket at a time.
  3. Free the pivots. Some arrows act like “keys” that unlock several others; identify them and plan around their paths.
  4. Leave stubborn pieces for last. If an arrow seems impossible, ignore it briefly and simplify everything around it.

As the grid thins out, the final few moves often become obvious and surprisingly satisfying.

Using One-Tap Controls

The game relies on simple one-tap input: tap an arrow, watch it attempt to escape. There are no swipes, drags, or complex gestures to memorize.

  • Tap deliberately, not quickly; the challenge is logic, not speed.
  • Use the still board to think before each tap; there is no time pressure.
  • Because controls are minimal, misreads usually come from planning, not dexterity.

This stripped-back interface is what makes Arrow Tap: Escape Puzzle ideal for short, relaxing sessions.

Reading Complex Arrow Arrangements

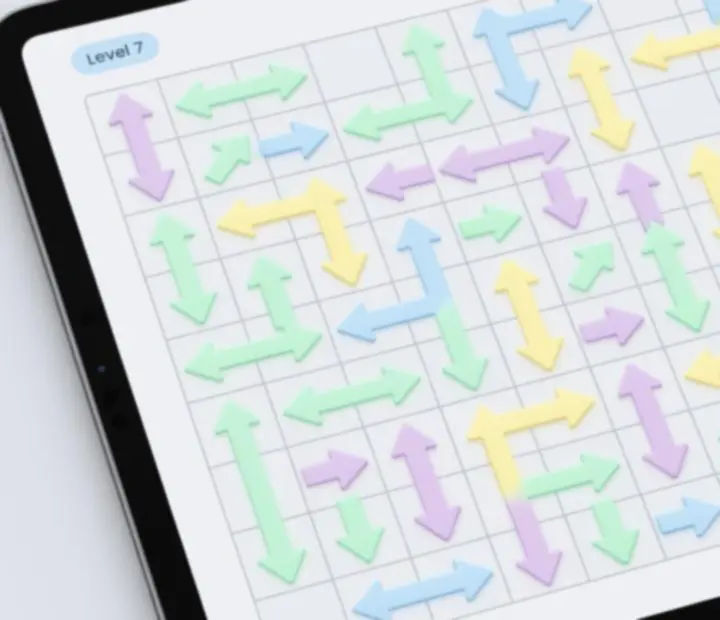
On advanced boards, arrows overlap visually, face in many directions, and form dense tangles. The key is to impose a clear reading order so the chaos feels structured.

Example of a complex Arrow Tap board with multiple overlapping arrow directions

Break complexity into layers

When a layout looks overwhelming, zoom your attention into manageable slices:

  • Layer 1: edges – identify any arrows on the borders with simple exits.
  • Layer 2: corridors – find arrows that have mostly clear lines but are blocked by just one piece.
  • Layer 3: core cluster – leave the tightest knot of arrows until the surrounding sections are gone.

By stripping away easy layers first, the central mess gradually resolves into a solvable pattern.

Practicing with Beginner Boards

Beginner boards are designed to teach arrow logic gently. Use them as a training space rather than rushing past them.

  • Replay a solved board and look for alternative solutions that use different move orders.
  • Challenge yourself to clear a simple board while always planning at least three moves ahead.
  • Practice spotting open paths in under a second – this habit makes later boards feel far less chaotic.

The more automatic these skills feel on easy layouts, the calmer you will be when facing denser puzzles.

Leveling Up Your Game

As you grow comfortable, gradually move toward higher difficulty boards and refine your logic.

  1. Step up difficulty slowly. Move from simple boards to ones with a few interacting clusters.
  2. Observe your sticking points. Note which patterns repeatedly confuse you and seek them out on purpose.
  3. Learn from advanced layouts. Even if you fail, each attempt improves your ability to read direction, blocking, and long chains.

Over time, you will move from reacting to each board to recognizing familiar patterns that you can solve almost automatically.